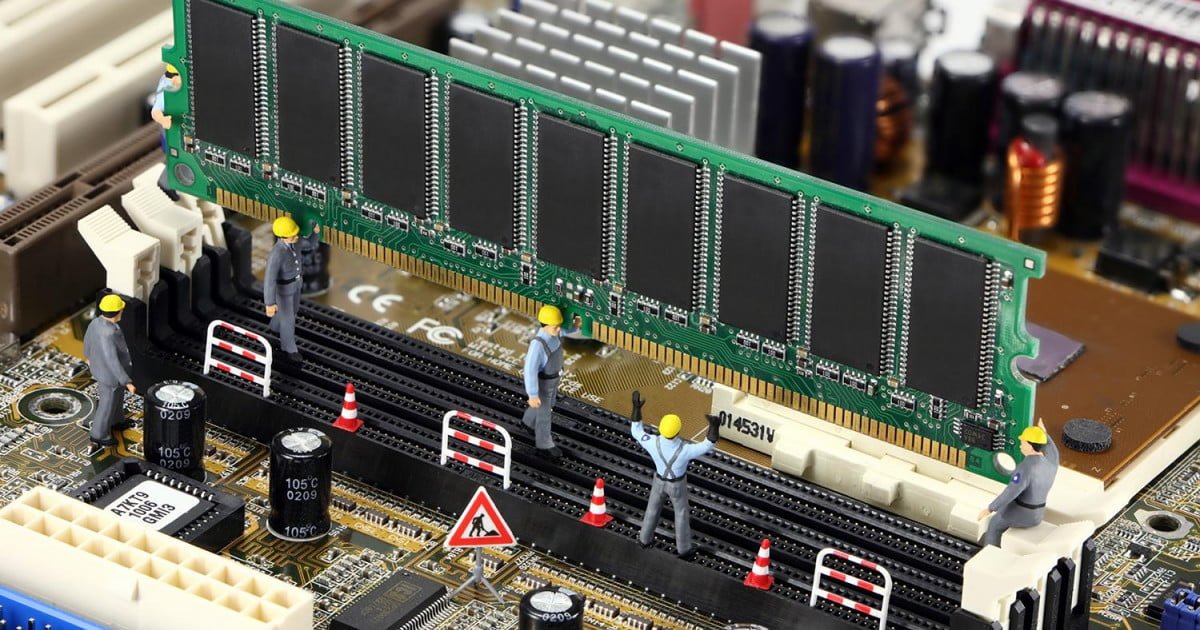
Installing more or faster RAM is one of the easiest upgrades you can do. If you have an inexpensive or older machine, upgrading your RAM will allow you to run more intensive applications, open more tabs in your browser, and just make your PC feel speedier overall. You need to know how to install RAM first, though.
In this guide, we’ll walk you through the process step by step. Although it may seem intimidating, upgrading your RAM demands just a few minutes of your time — no tools required.
Further reading
A few important reminders

Memory support is not universal, so it’s best to check your motherboard manual before picking up a set. If you don’t have your manual, you can usually find the motherboard model number printed on the board. Use that to find the manual online, where you should find a list of approved memory modules.
Additionally, you’ll find a capacity and speed limit. Your motherboard’s limits are, in fact, limits. Make sure to not overbuy in terms of speed or capacity if your motherboard can’t support it.
Most modern motherboards support DDR4, ranging from 2,133MHz at the low end, to as high as 4,700MHz and beyond at the very top end. If your PC is rather old, your system may only support DDR3, or even DDR2, memory.
Common manufacturers like MSI and Gigabyte list these specifications with their motherboard listings. For instance, the ASRock Z370 Killer SLI supports up to 64GB of DDR4 memory at up to 4,266MHz speeds, while the MSI X470 Gaming Plus supports up to 64GB of DDR4 at up to 3,466MHz.
Keep in mind that RAM is one of the easiest components to install, but static electricity is always a concern. Before you install new RAM, be sure to wear an anti-static wristband, or ground yourself by touching some bare metal in your case periodically. Wear rubber-soled shoes if you can and perform the upgrade on a bare floor: No rugs or carpet, if possible.
The step-by-step guide

Step 1: Disconnect the power cable from your system and, if needed, unplug other back-panel cables so that you can safely lay your system on its side.
Step 2: Remove the side panel (usually on the left) to gain full access to the interior. The RAM slots are long and normally reside to the right of the processor and its chunky cooler. These slots typically number between two and eight and include tabs (or wings) on each end, which lock the sticks into place. Press these tabs down toward the motherboard to eject and remove the old RAM.
Some motherboards only have a single tab. In that case, press the tab down and slide the RAM stick out, trying to keep it straight.
Step 3: Look in your motherboard’s manual to determine the correct slots where your new memory should reside. Some motherboards prefer the second and fourth slots if you’re only using one or two sticks. Others prefer the first and third. It’s important to consult your motherboard manual here, as the slots determine how much bandwidth your RAM has.
Before installing the RAM, make sure the wings at either end of the slot are pushed back so they’re tilted away from the slot.
Note that you can only install RAM one specific way. Look at the side of the RAM stick with metal contacts and you’ll see a notch that’s not centered. You’ll need to line that notch up with the notch — also not centered — inside the motherboard’s memory slot. If they’re reversed, the stick will not click in place.
When you’re sure the RAM stick is lined up properly, press down on the edges with your thumbs until the stick locks into place. As it does, the wings clamp in and hold the memory securely.
If the stick doesn’t click into place relatively easily, make sure you have the stick oriented correctly. Forcing RAM that’s not lined up correctly can damage your motherboard. If in doubt, double-check. A flashlight can really help you see as well.
Installing RAM can take a decent amount of pressure, though. Don’t force anything, but apply a good amount of pressure when pressing the stick down.
Step 4: Once all sticks click into their slots, confirm that the wing clips are locked in to hold the sticks firmly in place. If everything passes inspection, close the PC. Next, plug all cables back in and boot the system.
After the reboot
The good news from here is that if something went wrong, you’ll know right away when your computer doesn’t start. If that happens, repeat the above steps and make sure the new sticks are correctly seated in their socket. Even if they’re correctly installed, reseating can solve a swath of issues.
Once the system does start, make sure to check that you have the correct amount of RAM displayed in your system profile. If you see that your system only has 3.2GB after a much larger upgrade, this may be due to running a 32-bit operating system.
If you purchased RAM with an Intel Extreme Memory Profile (XMP) and want to take advantage of that added performance, you’ll have to enable it manually. Go to your BIOS screen. In most cases, that means continually hitting the Delete key (not the Backspace key) when your computer starts. All motherboards are a little different, but you should find an option to enable the onboard XMP profile in the BIOS.
Finally, if this whole process has piqued your interest in building computers, here’s our guide on how to put together a whole PC all by yourself.
Editors’ Recommendations
