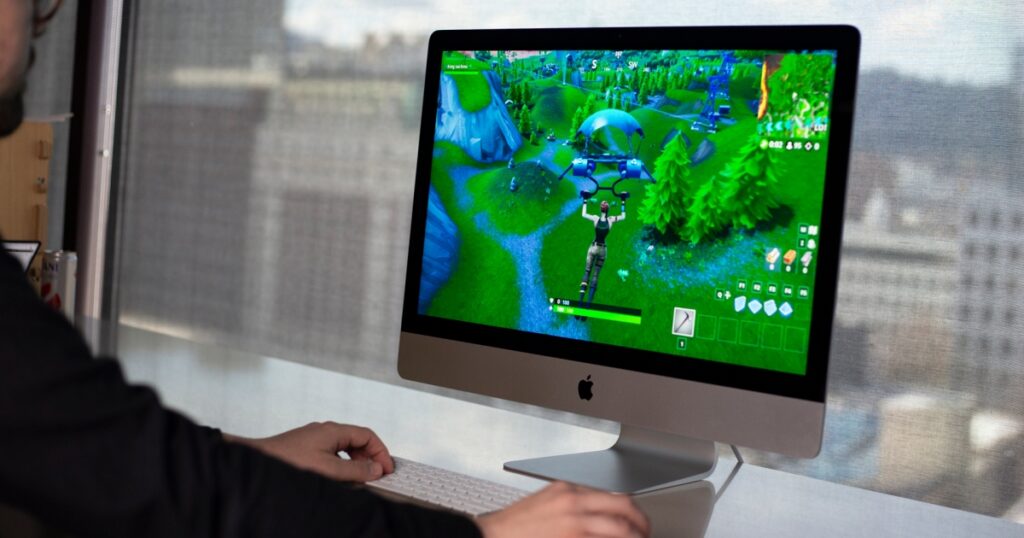
Gaming has never been the highlight of owning a Mac, but now more than ever, you can play almost any game on Mac. Performance isn’t always perfect, and you need healthy appetite for overlooking bugs, but it’s possible to take your PC library and transfer it to an Apple computer.
There are two methods here: the easy way and the hard way. Most people are fine with the easy way, though it has some specific restrictions. The hard way has more options, but it’s also prone to more bugs. If you want to cover all your bases, you’ll likely need to do both.


The easy way: CrossOver
CrossOver is an application that does all the hard work for you. It translates Windows commands into Mac commands, and it theoretically works with any Windows application (not just games). The great part about CrossOver is that it has a team of developers behind it. It translates instructions, but CrossOver also has optimizations for several apps to get them running smoothly on Mac.
There are a few caveats to it, though. First, CrossOver doesn’t support DirectX 12. Support is coming, but you’re limited to DirectX 11 games for now. In addition, CrossOver costs $74. There’s a 14-day free trial, but you’ll need to buy the full version if you want to use it beyond that point.
Step 1: Head over to the CrossOver website and select the Free Trial button to download CrossOver. Make sure to start with the free trial because, although you can refund a purchase, it costs the development team time and money.
Step 2: Unzip the folder from your Downloads folder and double-lick on the CrossOver app. It will move to your Applications folder.
Step 3: When the app starts up, select Try Now. If you purchased a license, you can unlock the app by entering your account information.
Step 4: You’ll be met with the CrossOver app when you’re done. You can install some games directly – you’ll see a few in the Popular Applications window when starting – but you want to install a game launcher instead. You’ll still need to launch all your Steam games from Steam, for example.
Step 5: For this tutorial, we’re going to install Steam. Select it and click Install. You’ll get several pop-ups after, installing things like a new font for Steam and the Microsoft XML Parser. Continue through the installers as they appear.
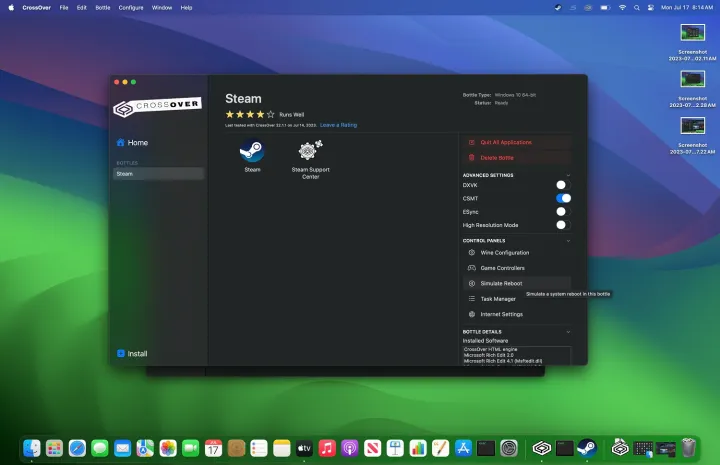
Step 6: Steam will open when you’re done, and you can install your games normally like you would on a Windows PC. CrossOver creates a “bottle” for an app like Steam, and your games will live in that bottle. You can select your Steam bottle within CrossOver and see your games, along with other options. you can configure controllers, for example, as well as simulate a reboot.
The hard way: Game Porting Toolkit
If you want to play DirectX 12 games, you’ll need to use Apple’s Game Porting Toolkit. This is essentially the same as CrossOver, but it’s a developer-focused tool. That means it’s really not suited for end users, so expect a multitude of bugs and setup issues as you’re going through.
Before getting started, you’ll need to make sure you have macOS Sonoma installed. It is in beta at the time of publication, so you’ll need to sign up for the Apple Beta Software Program. We’ll walk you through the steps here to set up the Game Porting Toolkit, though there’s an open-source tool called Whisky that will do much of the hard work for you.
Step 1: First, head to the Apple Developer website and download the Command Line Tools for Xcode 15 and the Game Porting Toolkit
(it’s in version 1.0.2 at the time of writing). Install the Command Line Tools and mount the .dmg file for the Game Porting Toolkit after.
Step 2: You don’t need anything in the Game Porting Toolkit right now. Keep it mounted and open the Terminal. You’ll need to enter a series of commands, pressing Enter after each one.
Step 3: To start, enter softwareupdate –install-rosetta if you’re using an M1 or M2 Mac.
Step 4: After, enter arch -x86_64 zsh to open an x86 shell.
Step 5: Now, we need to install Homebrew. Enter /bin/bash -c “$(curl -fsSL https://raw.githubusercontent.com/Homebrew/install/HEAD/install.sh”. If you already have Homebrew installed, you’re good to go.
Step 6: Enter which brew and ensure that Homebrew is pointing to this path: usr/local/bin/brew.
Step 7: Next, enter brew tap apple/apple http://github.com/apple/homebrew-apple.
Step 8: Now it’s to install the Game Porting Toolkit. Enter brew -v install apple/apple/game-porting-toolkit. This will take a while to finish.
Step 9: Next, we need to set up a virual C: drive with Wine. Enter WINEPREFIX=~/my-game-prefix brew -prefix game-porting-toolkit/bin/wine64 winecfg. This will open a Wine configuration menu, where you need to select Windows 10 as your OS.
Step 10: With the virtual drive set up, we need to copy the Game Porting Toolkit over to it. Enter ditto /Volumes/Game\ Porting\ Toolkit-1.0.2/lib/ brew --prefix game-porting-toolkit/lib/.
Step 11: Now, it’s just a matter of starting your game. We’ll be installing Steam as an example, but you can do this same process with any Windows application. For Steam, download the Windows installation files to your Downloads folder.
Step 12: In the Terminal, enter gameportingtoolkit ~/my-game-prefix ~/Downloads/SteamSetup.exe.
Step 13: You’ll see a Windows installation appear. Follow it. Once you’re done, you can launch Steam by entering gameportingtoolkit ~/my-game-prefix ‘C\Program Files (x86)/Steam/steam.exe. You can replace that path with other applications to launch them, as well.
Step 14: That’s it! Once again, you can (and we highly recommend) using Whisky instead. It does all of this dirty work for you, and it’s much easier to launch your applications.
Mac gaming still has a long way to go, but with CrossOver and the Game Porting Toolkit, it’s now possible to play the vast majority of Windows games on Apple computers (with a healthy dose of bugs, that is). For most people, we still recommend sticking with CrossOver, as it’s much more stable and doesn’t require a long configuration process like the Game Porting Toolkit does. There’s a good chance we’ll see DirectX 12 support in the app shortly, too.
Editors’ Recommendations

