Nvidia makes some of the best graphics cards you can buy, but the company says it actually spends about 80% of its time working on software. That includes a wide-ranging list of features on Nvidia GPUs to expand what your graphics card is capable of.
You may already know about some of these features, but in my experience, the software for both Nvidia and AMD graphics cards is woefully underused. If you have an Nvidia GPU, keep these features in your back pocket.
Instant Replay

One of the best things about consoles is the ability to rewind and capture your gameplay. You just beat a big boss, or came across a wild enemy encounter, and you weren’t ready to press Record. Nvidia GPUs have this feature through GeForce Experience as well, and it’s actually a lot more feature-rich than the versions you find on consoles.
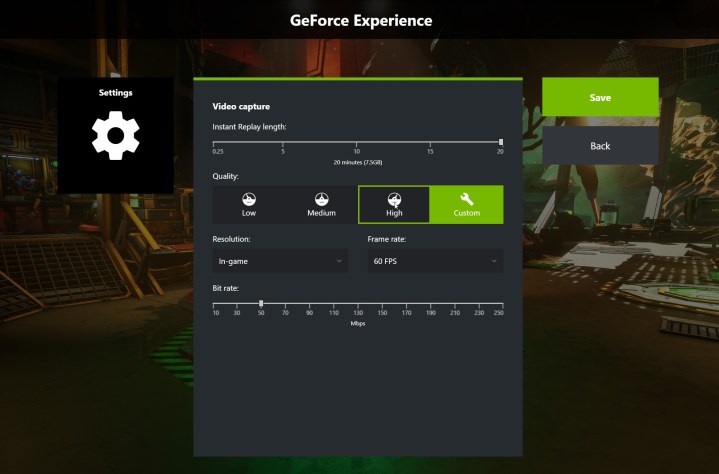
To set it up, press Alt + Z to open GeForce Experience. Click on Instant Replay and select Settings. You can select a replay time of 15 seconds to 20 minutes, and GeForce Experience will show you how much space that will take up on your hard drive. You can even set your resolution, frame rate, and bit rate, up to 8K at 60 frames per second (fps). When you’re done tweaking settings, head back to the main GeForce Experience overlay and tick Instant Replay to On.
Instant Replay takes up space on your hard drive, and it captures your gameplay perpetually (don’t worry, it removes the space it takes up unless you save the file). When you want to Instant Replay something, you just need to Alt + F10 to save the capture, and if you’re not worried about capturing anything, you can use Alt + Shift + F10 to turn off Instant Replay entirely.
Automatically optimize your games

Optimizing your PC games for the best performance isn’t easy, which is why I commonly write an article with optimized settings for the latest game. But GeForce Experience can give you a good starting point automatically.
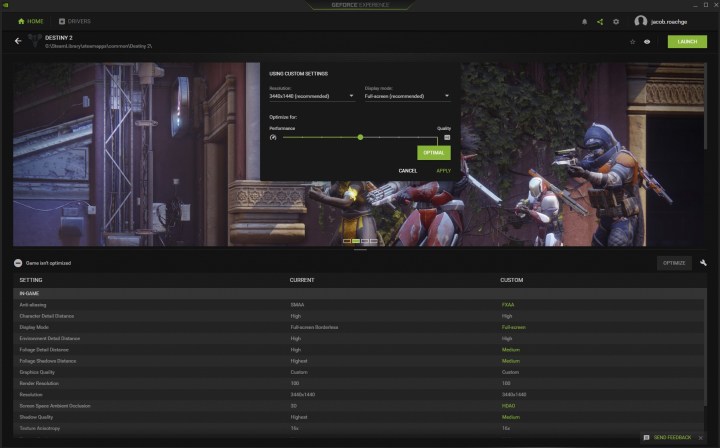
Open GeForce Experience and go to the Home tab. Hover over the game you want to optimize and select Details. You’ll see a list of your current settings and Nvidia’s recommended settings, with whatever’s changed highlighted in green. Click Optimize, and you’ll apply the new settings, even without the game open. You can even click the gear icon next to this button to optimize your settings for quality or performance, as well as set your desired resolution and window mode.
The only downside is that GeForce Now doesn’t support every game. Nvidia does a good job of adding support for the most demanding games — basically any game included in a Game Ready Driver has optimal settings — but you can’t click a button for your entire library.
The optimized settings aren’t always accurate, either. They provide a good starting point, but it’s still a good idea to poke into the graphics menu and make sure your settings have been applied, as well as tweak them further if you’re not getting the performance or quality you want.
Use photo mode in any (supported) game

As a hobbyist photographer, one of my favorite things in modern gaming are photo modes. Some people take it as its own art form and have even published books with in-game photography. I love it, but not every game has a photo mode.
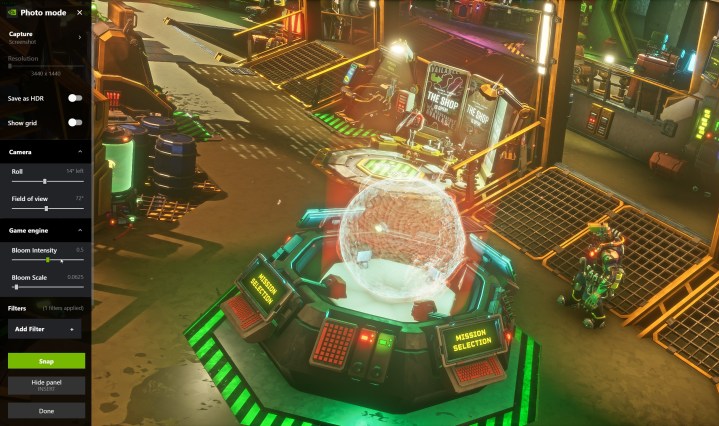
Enter Nvidia Ansel. Typically just framed as a way to take screenshots, Ansel is actually a lot more powerful in supported games. You can use it to add a photo mode to games that don’t have one natively, including Deep Rock Galactic, Dishonored 2, and MapleStory.
You have a ton of settings for your photos, too, from depth of field and boom intensity to super resolution features that will upscale your screenshots. You can even export the photos in DXR format if you want to apply HDR. And all you need to do to use Ansel is load up a supported game and press Alt + F2 while GeForce Experience is running.
The only bummer is that Nvidia doesn’t really support Ansel with new releases these days (most major releases have their own photo modes, for what it’s worth). Still, Ansel is a good tool to have around if you want to dive into some in-game photography in the list of supported titles.
Make your games look better automatically

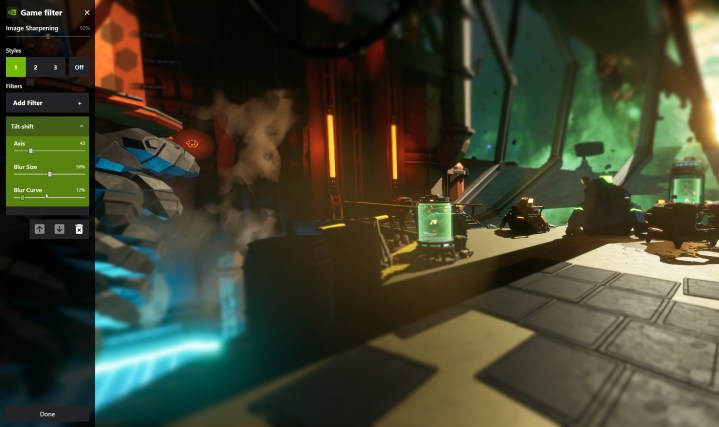
Nvidia FreeStyle allows you to apply filters to your game, and as you might have guessed, it’s available in GeForce Experience. Some of the filters are what you’d probably expect — grayscale, old film, sepia, etc. — but there are a ton of options to toy around with a make your games look unique.
Perhaps the most exciting of the lot is the SSRTGI filter. As I dove into when adding ray tracing to Elden Ring, there has been a popular mod floating around for a while that applies a ray tracing filter to your games. It’s not proper ray tracing, but it does a lot to improve the look of your games. And Nvidia ended up partnering with the developer to add the filter to FreeStyle.
Nvidia supports a lot more FreeStyle games than Ansel games, and it regularly adds new titles like Elden Ring and Yakuza: Like a Dragon. Enabling FreeStyle is easy, too. All you need to do is load up a supported game and use Alt + F3.
Set a frame rate cap

Frame rate caps are a really important tool. They not only help your PC run more efficiently, especially if your frame rate is exceeding the refresh rate of your monitor, but they can also help your games run smoother. Unfortunately, a lot of games don’t include a frame rate cap.
Open the Nvidia Control Panel, select Manage 3D Settings > Program Settings. Then, find the game you want to set the cap for and tweak the Max Frame Rate setting. Click Apply, and you’re done. You can do this on a global basis for all your games, but there are some titles where setting an individual frame rate cap is a good idea.
Why? Because a lot of PC games can have problems. Older titles can run at two or three times the speed they should with an uncapped frame rate, for example. In other games, in-game frame rate caps either don’t work or suffer from poor frame pacing, making your gameplay feel uneven. If you want more tips for this app, we have a roundup of the best settings for Nvidia Control Panel.
Editors’ Recommendations
